Photo series ideas
Photo series ideas

Create your own photo series with your most beautiful photos - easily designed with Pixum photo prints.

Order Now

Create a personal photo series for your home

Use your most beautiful photos with nature shots and create an individual photo series with a piece of wood - even a simple cord or light chain can create the decorative frame on the wall for your photographs.

.

1. Collage on wood

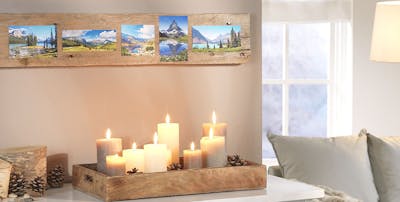
Instead of a wooden picture frame, you use a wooden plate on which you attach your pictures - a rustic decoration for empty walls. Nature, people, animals - which theme would you like to pick up for your decoration?

What you need for the wooden wall decoration:

Natur pur - mit der Fotostrecke auf einer edlen Holzleiste schaffst eine Raumdekoration mit natürlichem Flair.
  • a wooden plate
  • five or more Pixum photo prints, depending on the length of the wooden panel
  • two hooks to screw in as hangers
  • crafting utensils (scissors, glue or glue pads, pencil)

Make your wooden decoration step by step:

  1. Select at least five photos that you would like to use and order them as photo prints. The photos should fit together thematically - whether it be shots of the landscape in the mountains or motifs from a holiday by the sea.
  2. Arrange the photos in the desired order.
  3. Different formats or different perspectives make the design more exciting - alternate images in portrait and landscape format or crop individual images.
  4. The wood should be clean and dry - you can also paint it to make the photo wall even more elegant.
  5. Stick the photos onto the wooden strip using the adhesive pads.
  6. To hang up your finished photo series, use two hooks. Done!

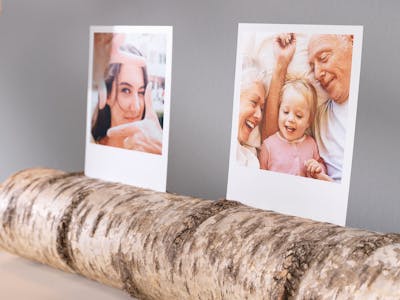
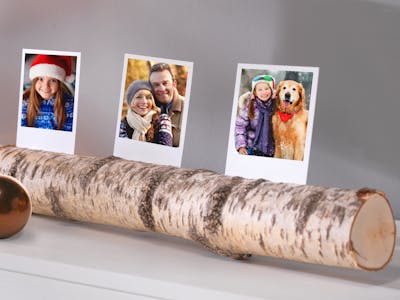
2. Wooden branch as photo holder

Create a decorative branch with a few tools. We recommend using black and white pictures as well as retro prints.

Pixum tip

Why retro prints?

Retro prints harmonise particularly well with the rustic look of a branch. Another advantage of the retro print is the large white area below your photo - you can simply tuck it into the wooden decoration without covering up parts of your picture.
Material for your decorative branch:

  • wooden branch, e.g. a birch trunk
  • angle grinder
  • saw
  • your favourite photos as retro prints
  • some olive oil

For this idea, the branch must well dried. Store the branch in a dark, dry, but not too warm place. Once the natural product is completely dry, you can rub it with a little olive oil to prevent it from cracking later.

Wooden branch with retro prints - here's how:

  1. Using the saw, shorten the branch to the desired length. Keep in mind how many photos you want to place on it.
  2. Cut several slits in one side with the angle grinder. The slits must be long enough for your pictures to fit in. A depth of just under a centimetre is sufficient.
  3. Decorate the branch wiith your selected pictures. If they are not stable, deepen the slots a little.

3. Your own simple photo hanging

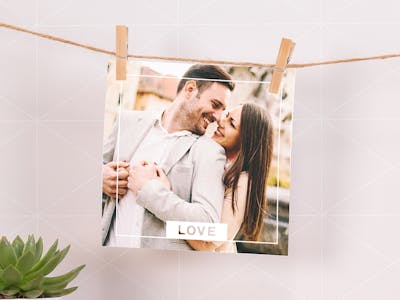
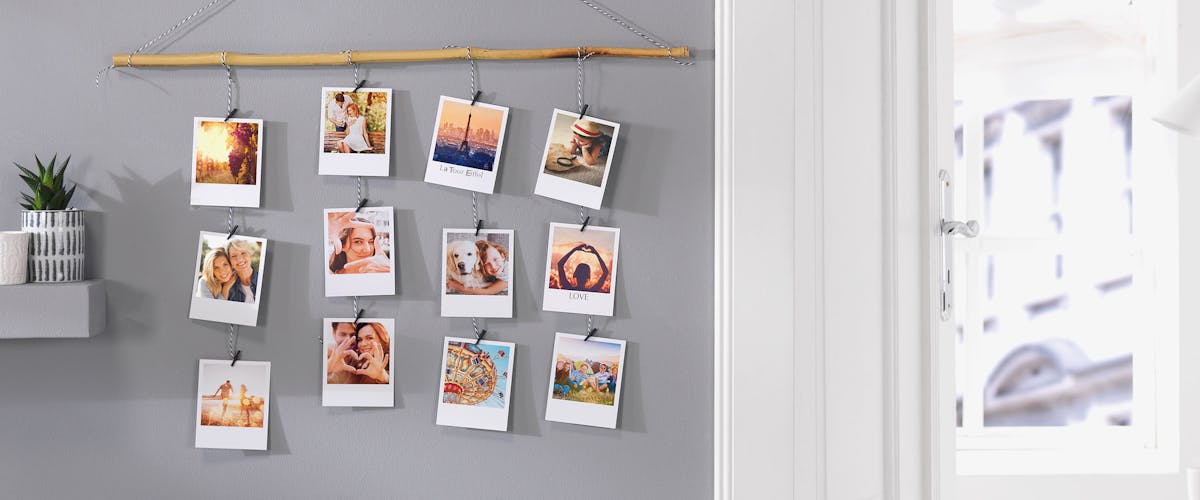
An inexpensive way to display your images on the wall in a collage style that takes little time is to use a cord or string to present them.

This is how you can create a photo spread:

  1. Hammer two nails into the wall and attach a cord to both ends.
  2. Leave the cord hanging a little or tighten it - depending on how you low or high you want to set your photos.
  3. Use simple decorative clips that differ in shape and colour and attach your snapshots.

Order photos now

Order your photo prints now and create your own personal photo series at home!

4. Decorate fairy lights with a series of pictures

Great ideas don't have to be complicated - whether as a window decoration or to decorate your walls, simply use a string of lights:

  1. Put nails in the wall and hang up the fairy lights. Make sure you don't pull them too tight to avoid cable breakage.
  2. Hang your photos with clips or staples between the lights.
  3. Done!

You can of course use the same idea in any other place - for example, clip your photos to a chain of lights under a shelf, to a lamp or even to a Christmas tree.

Pixum tip

Even more ideas for your photos

Discover many more exciting ideas for presenting your photo prints in our photo print ideas. Here we show you what you can do with your colourful photos

.

Discover unique photo prints & variations

Square Prints with gift box
  • Size: 12,7 x 12,7 cm
  • Material: 300 g/m² card paper
  • Set of 16, 24 and 32 with gift box available
  • Personal messages can be added
Retro Prints with gift box
  • Size: 10,2 x 12,7 cm
  • Material: 300 g/m² card paper
  • Set of 16, 24 and 32 with gift box available
  • Personal messages can be added
Vintage Prints
  • Size: 10 x 10 cm
  • Material: 270 g/m² high-grade photo paper
  • Available as 25, 50 sets or as single prints in any quantity
  • Personal messages and colourful backgrounds can be added

Here Is How You Order Your Photo Product with Pixum

  • The photo book you have chosen is currently only available in the Pixum Photoworld Software. Please create this photo book on your PC/Mac or select one of our other formats.

    Online Editor

    • Quick and easy:Create, design and order directly in your browser.
    • We recommend it: for creating your Photo Books, wall art & other products quickly and without having to download a software or app.
  • The photo book you have chosen is currently only available in the Pixum Photoworld Software. Please create this photo book on your PC/Mac or select one of our other formats.
    Our customers' favourite

    Pixum Photo World software

    • endless creative options
    • save offline and continue later

    also available for
    OS X and Linux

  • The photo book you have chosen is currently only available in the Pixum Photoworld Software. Please create this photo book on your PC/Mac or select one of our other formats.

    Pixum app

    • design wherever you are
    • for your smartphone or tablet

    also available for
    Android

Pixum - Excellent quality

Customer Feedback: Photo Prints