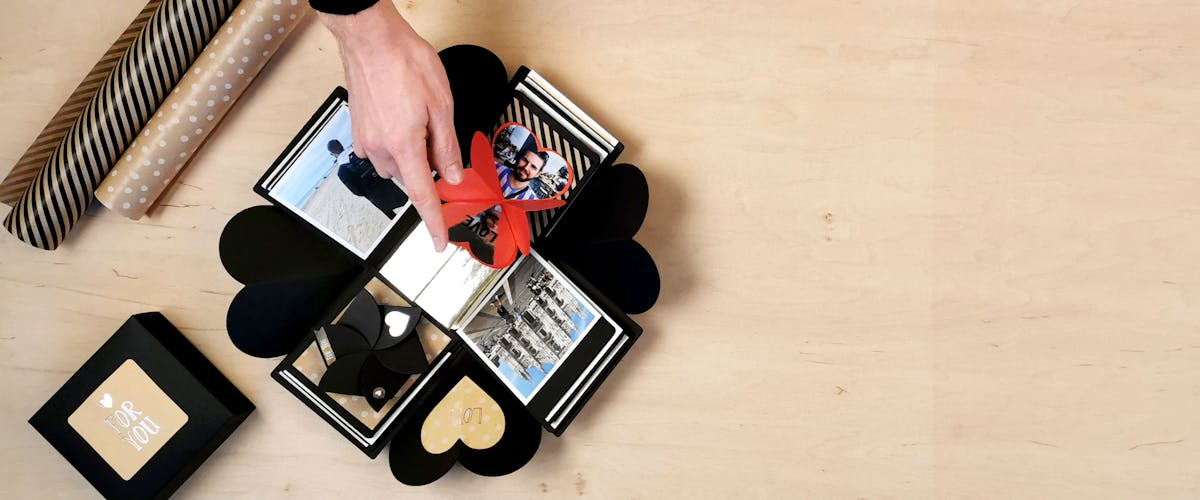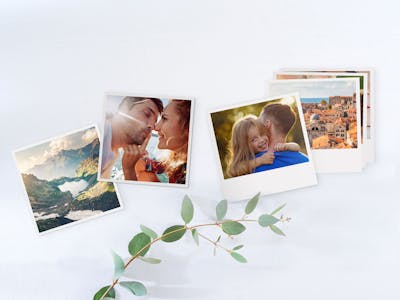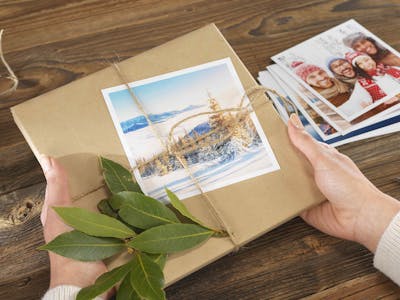
Create a lovely & personalized gift box decorated with your photo prints.
Exploding Box DIY
Whether it's a birthday, wedding or Valentine's Day gift - surprise your loved one with a personalized exploding box filled with your favourite memories!
Here's what's so special about it: This gift box opens by itself as soon as the lid has been lifted, revealing its contents. It's a little of "explosion" experience. Who does not love such cute surprises? Photo Prints and other small gifts get a perfect setting with this special gift box.
Here is How You Do It
Making an Exploding Box - Materials and Prep

Exploding box is more than mere packaging. They come in a wide variety of sizes, colours and shapes. You can make a traditional box with or without pockets, a triangular-shaped one (just like a piece of cake) or even a box with heart-shaped corners as a Valentine's Day or Mother's Day gift.
Read on to find out how to make a traditionally-shaped box.
In this tutorial, we'll show you how to make a classic exploding box with pockets in just a few steps. A box full of sweet memories and small gifts. To make a box which will have a 10 cm large base and sides, you will need the following items:

For a 10 cm large exploding box, you will need:
- coloured cardboard
- design craft paper
- double adhesive tape or tacky glue
- scissors
- ruler
- pencil and rubber
- bone folder or dull knife (for a crisp fold, but not a must)
- pens in gold, silver or white
- decorative beads, stamps, paper punches and glitter
Step 1: Preps
First, think about a whole concept of the explosion box. Here are a few questions to that: Which photos suit best the topic of your DIY project? Where or on which sides / pages shall the photo prints be placed the in the box? Many of the ready-made exploding boxes already contain pockets that can be filled. These add your DIY photo box extra space for small gifts, such as gift vouchers, in addition to your favourite photos.
You can also glue in some elements only on one side of the lid so that these "float" inside the box. For example, a glittery festoon made of coloured paper circles.
Step 2: Adding photo prints
Now you can start decorating the inside of the box with photo prints. You might want to cut out small pieces of design paper and write little messages on them to highlight the foldable elements of the box.
Matching stickers will harmonize the overall look of the box. A small box made of golden paper in the centre of your exploding box can be filled with small & lightweight gifts - pieces of jewellery, folded event cards, gift vouchers, etc.
Mind the Colours

Consider setting a colour concept for your gift box. This way you can add various decorative elements to the box and still get a balanced and harmonious look.
If it's a DIY gift for the Mother's Day, try using muted pastel colours to highlight the tenderness of your feelings. Making an exploding box as a birthday gift, opt for cheerful colours and funny stickers. If it's a wedding DIY gift or something you prepare for the Valentine's Day, an elegant colour scheme with gold and silver accents or beige with muted colours would work perfect. No matter the occasion, the noble black colour is a good option to highlight the colours on the photo prints.
The Perfect Gift Wrapping

Whether it's a birthday, wedding, Mother's or Valentine's Day, an exploding box is the perfect way to present small gifts and browse together through your favourite memories.
An engagement ring also fits nicely in the box and is sure to cause an "explosion of emotions" when presented. Have fun designing your personal DIY exploding box!
